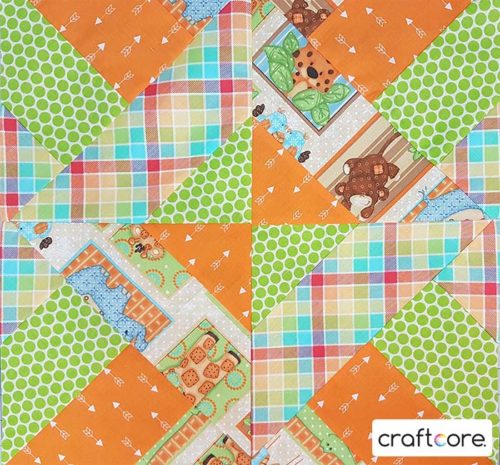
My go-to baby quilt for gifting is the diagonal slice quilt block. I love that this quilt looks so complicated yet comes together so quickly. Here is an example of one single block:
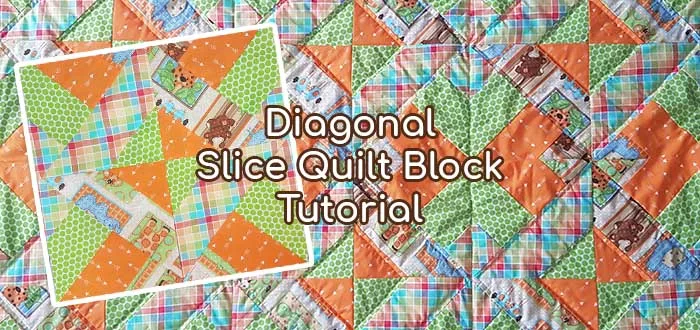
 I’ve created this tutorial as a video to show you just how easy it is to make your own diagonal slice quilt. However, if you prefer written instructions, you can view my text and image only tutorial here. This video will teach you how to create the diagonal slice quilt block and how to assemble it into the quilt top. I’m using a slicing technique that turns simple fabric strips into a complicated design. This baby quilt measures 37.5″ x 55.25″ when completed.
First, we will create twelve very simple 14.25” blocks, then we’ll use a slice-and-dice technique to rearrange them into six 18.75” mega blocks. It’s easier to show than tell, so watch the video to see the technique. This block feels like magic!
Supplies You’ll Need To Make This Quilt Top
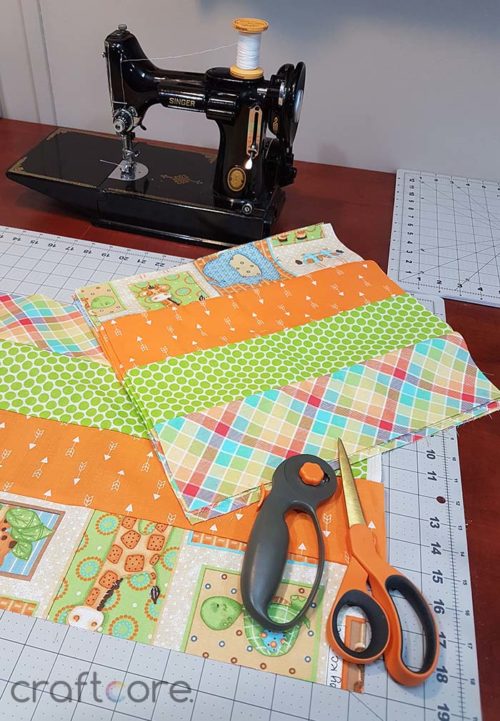
You’ll need to select four coordinating prints from 44” wide quilting cotton. Please make sure that the usable area is at least 42.75” in width. You’ll need 16” (or half a yard) of fabric of each design.
Once you make the quilt top, you’ll also need enough fabric backing, binding, and batting for a 37.5″ x 55.25″ quilt. However, I don’t delve into how to sandwich, quilt, and bind the quilt in this tutorial.
Watch The Diagonal Slice Quilt Block Tutorial Video
More Information About The Project Quilt Featured in this Video
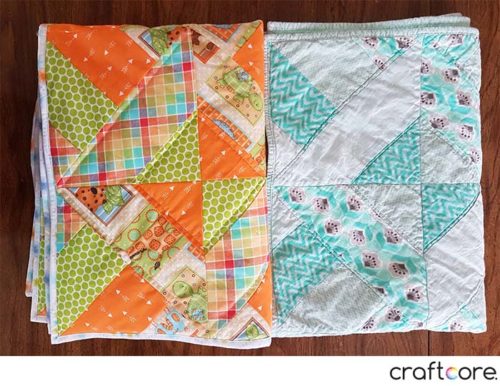
My previous diagonal slice tutorial featured the grey and mint quilt I made for my son Jacob, while this tutorial features the same design in fresh orange and green prints for my friend’s baby Luke. I wanted our quilts to be made with the same quilt pattern so they would have a quilty connection to each other. Only one of the prints in Luke’s quilt is specifically a baby print. The rest I chose by pulling matching colours.
Here is a photo of Luke’s quilt and Jacob’s quilts side by side. You can see Luke’s quilt is looking brand new compared to Jacob’s. Jacob’s quilt has been used every day and it has been washed many times in the past year and a half. I throw my baby quilts in the washer and dryer. I don’t mind when quilts get that loved and worn look. I’m looking forward to Luke’s quilt showing signs of similar love!
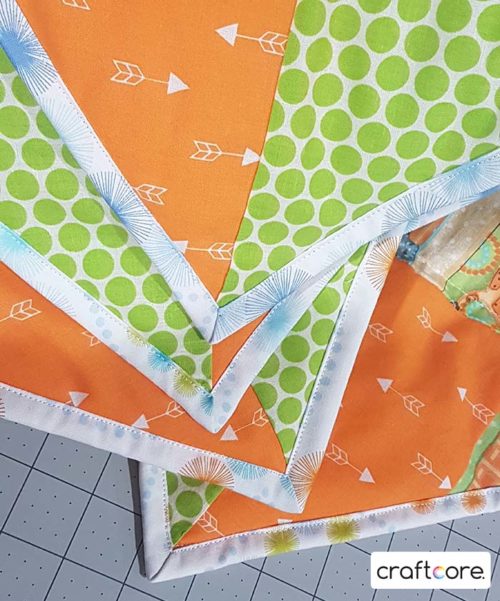
You can see the binding peeking out in the photo above, and a close up of the binding is below. It’s a white fabric with blue, green and orange starbursts. My friend and I worked on a sewing project years ago that used a similar fabric so I knew she would love it. As soon as I saw the print it reminded me of her. I used it for the binding and the backing.
I sewed on the binding by machine rather than by hand. I’m a fan of how the machine binding looks – almost like an extra line of quilting around the perimeter of the quilt. I know this can be a hot-button issue for quilters, but I’m comfortable with this choice.