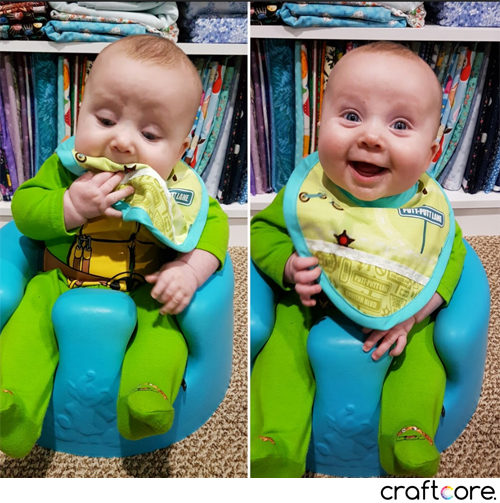
My son just turned four months old and he is definitely starting the teething stage. With teething, bibs definitely save a lot of laundry with all that gooey baby drool dripping everywhere. I’m slowly increasing my bib stash by sewing up my own bibs using existing bibs as a pattern. This sewing tutorial will teach you how to make a pattern from an existing baby bib to sew a new one. Two trim options are outlined: contrasting bias binding or self-facing.
All you need for this tutorial is an existing bib that you love, some fabric, and some kind of fastener (snaps, velcro, etc).
Before You Start the Bib, Decide the Style You Want to Make
Before you get started, you’ll need to decide if you want to have a contrasting trim on your bib or if you want to have the bib self-finished by flipping it right side out. The first method is a little trickier since you need to make and apply bias binding around the perimeter of your bib. Both methods make lovely bibs!
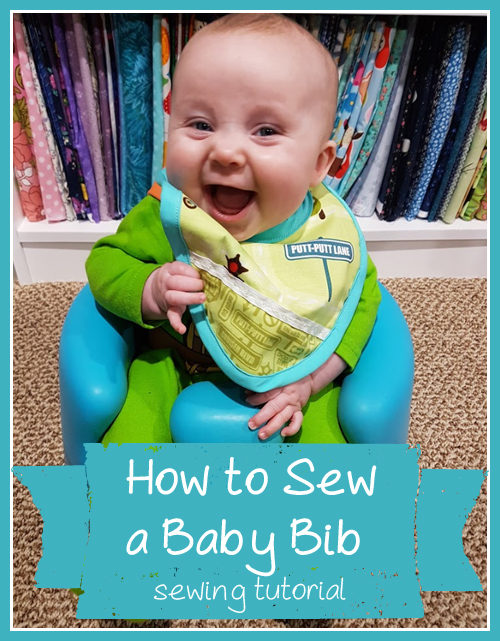
Baby Bib Sewing Tutorial – Step by Step
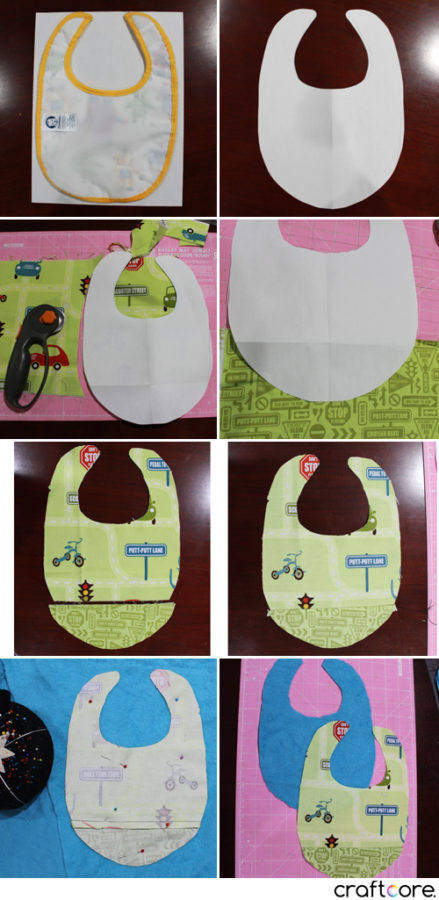
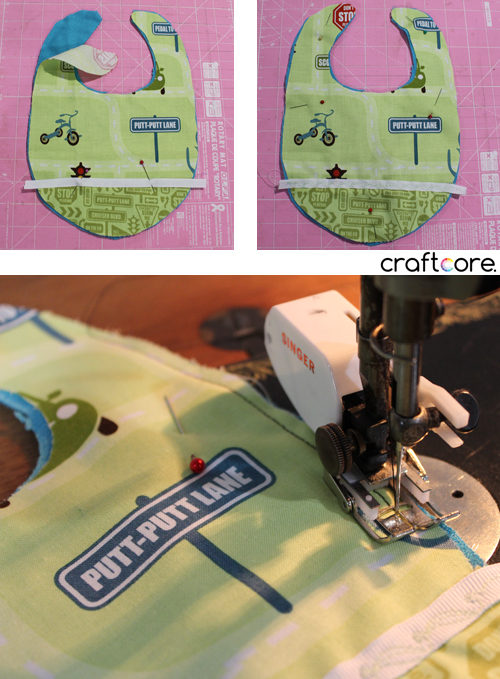
- First, take a bib that you like and lay it on a piece of paper. Trace and cut out your pattern. To make sure that both sides are exactly the same, fold your pattern in half and trim if necessary.
- Next, lay your pattern on top of your desired front fabric. I like to use a cute quilting 100% cotton fabric for this. You can either use one single fabric or you can sew together some scraps to make a scrappy bib. In my case, I used two fabrics and sewed them together to make up the full pattern piece. Both fabrics were leftover from my nephew’s car quilt.
- If You Will Be Applying Bias Binding Trim: cut out your fabric exactly along the edge of your paper pattern.
- If You Will Not By Applying Trim: cut out your fabric 1/4″ larger than the edge of your paper pattern.
- Lay your front fabric on top of your desired back fabric, pin in place, and cut it out using the guidelines below. I like to use either flannelette, fleece, or toweling. In the picture below, I’m using fleece. I used flannelette in my previous bib article.
- If You Will Be Applying Bias Binding Trim: Layer the back fabric right side down and the front fabric right side up. OPTIONAL: You can also add a ribbon with a decorative stitch through both the backing and front fabric like I have done in my example if you like.
- If You Will Not Be Applying Bias Binding Trim: Layer the back fabric right side up and the front fabric right side down. The right sides will be together.
- Sew the layers around the edge of the bib with a 1/4″ seam.
- If You Will Be Applying Bias Binding Trim: Sew around the entire bib.
- If You Will Not Be Applying Bias Binding Trim: Sew around the entire bib, leaving a two-inch gap for turning along one side of the bib.
- Finish the Bib:
- If You Will Be Applying Bias Binding Trim: Sew the bias binding to your bib. See note regarding bias binding below.
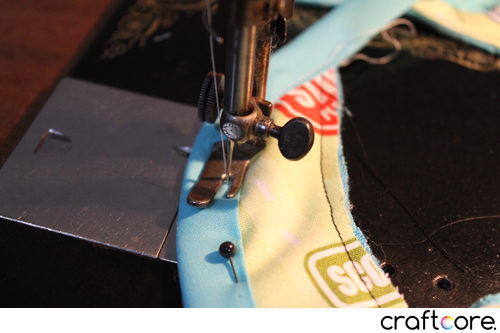
Sewing the bias binding in place. - If You Will Not Be Applying Bias Binding Trim: Pull the entire bib right side out through the gap you left in the bib. Top-stitch the bib closed, making sure to close the gap at the same time.
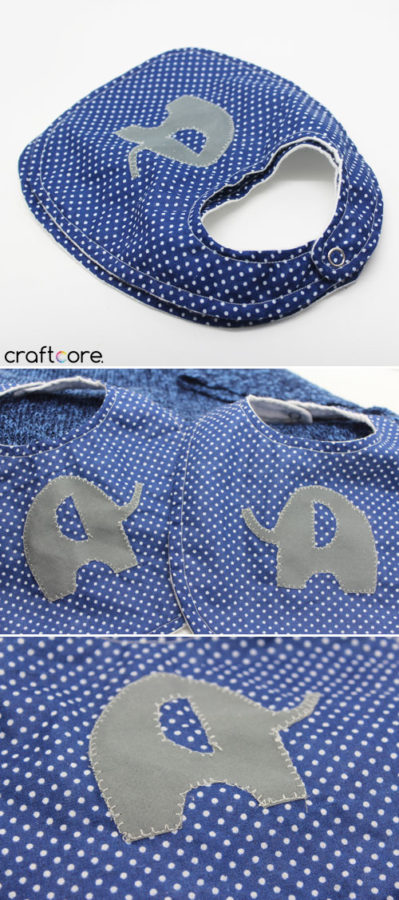
Here is an example of a bib I made that has been flipped right side out and top-stitched.
- If You Will Be Applying Bias Binding Trim: Sew the bias binding to your bib. See note regarding bias binding below.
- Attach your snaps, velcro, etc. I use hammer-on snaps.
A Note About Bias Binding
You can buy bias binding premade, or you can make your own. Here is a great YouTube video from CuddleTime Quilts explaining how to make it from scratch (it’s a two-part video, and oh so thorough!):
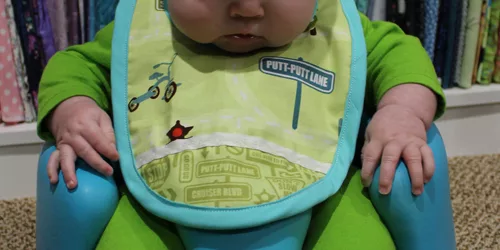
Here is my latest bib finished and ready to go:

As you can see, the binding isn’t perfect but I love the contrast it lends to the bib. Normally I like to do the self-lining method which requires no fiddling with bias binding. The inner curve area of the neck is difficult for me. Bias binding is something I’m practicing in 2017, and I’m sure I’ll be needing more bibs as more baby teeth are in my future! What a perfect excuse to practice attaching bias binding.