This is the fifth and final week of my Fidget Quilt Challenge. Over the past four weeks, I created four quilt blocks that have interactive elements, meant to be therapeutic to people suffering from Alzheimer’s disease. If you want to view the past challenges, you can view each block in the fidget category.
Week 5’s task was to bind the quilt and add a quilt label. I’ll admit that binding and labeling quilts is my least favourite part of quilting. My favourite part of the process is designing and assembling the quilt top, which is why I have a box of assembled quilt tops waiting to one day be sandwiched, quilted, and bound. This week’s challenge put a nice deadline on it.
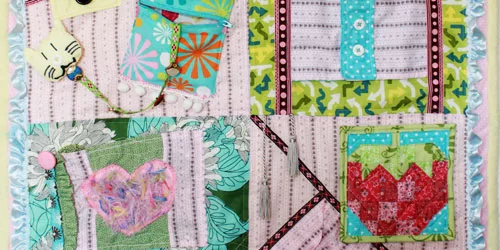
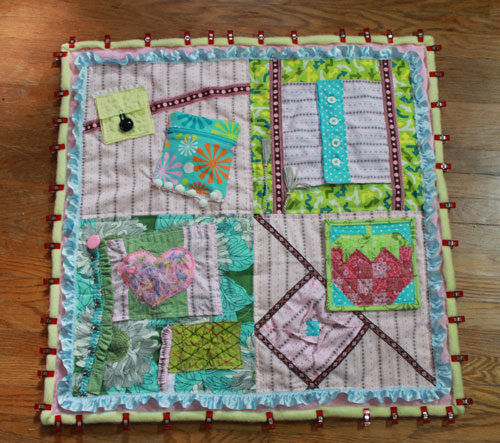
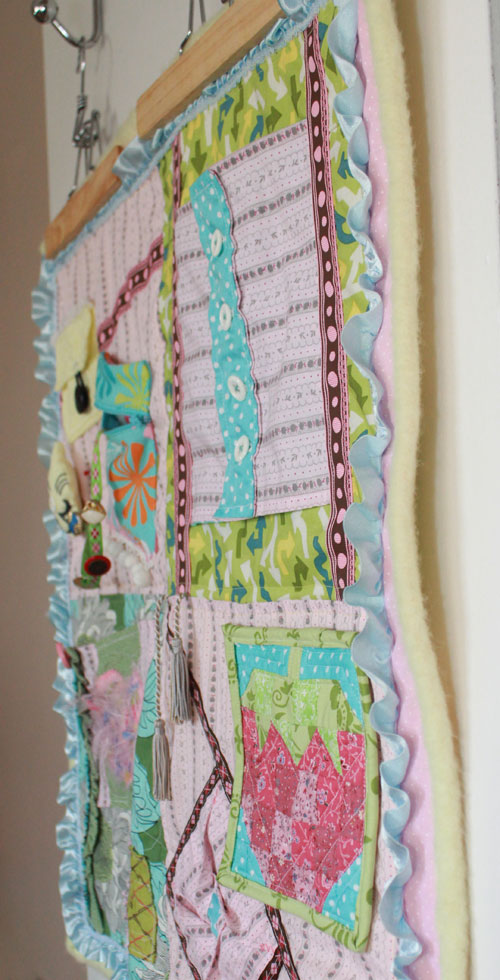
Here is the completed mini quilt, measuring in at 26″ square finished:
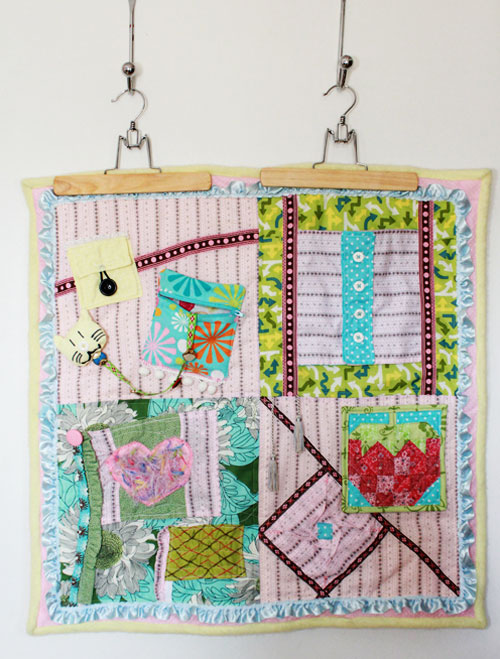
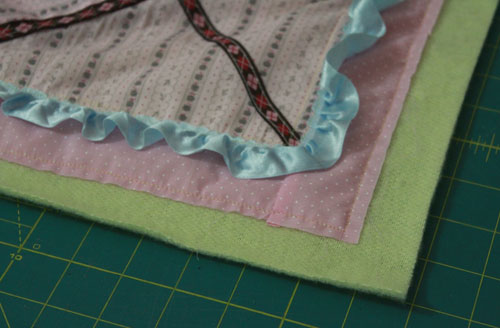
To finish this quilt, I added a thin pink border on the edge. I added blue satin ruffled trim for visual interest and additional texture. The ruffle covers the bulk of the border so that only a touch of pink polka dot peeks out.
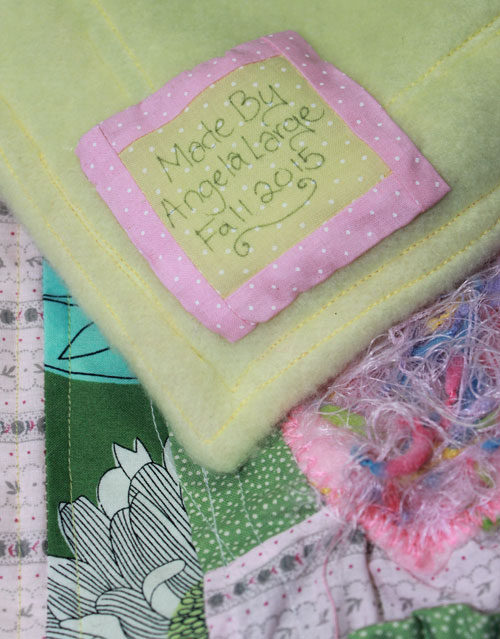
To increase the cozy factor, I used a soft yellow fleece for the backing and the binding. Since the fleece was thick and soft already, I didn’t bother with adding quilt batting. The quilt already feels heavy due to all the layers of fabric on the quilt top.
Rather than cutting strips of fleece for the binding, I used the technique described on Rae’s blog for fold-over binding. Essentially, you trim the backing so that it’s exactly one inch larger than the squared quilt top. Once you fold over the backing twice, it looks just like traditional binding from the front with half the amount of sewing required.
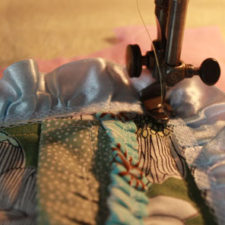
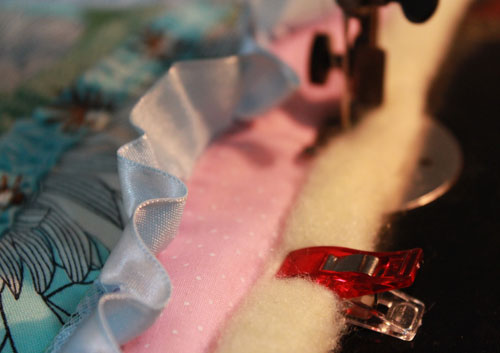
The trickiest part of this is the corner to make it look mitered, but with careful folding, it’s manageable. Rae outlines it very well in her tutorial. Since I used fleece for my backing, it was a bit thick, but nothing my sewing machine couldn’t handle.
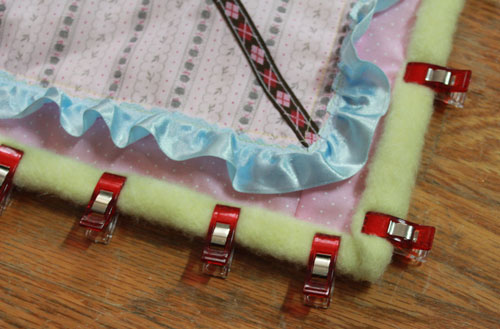
Wonderclips help keep everything in place before sewing.
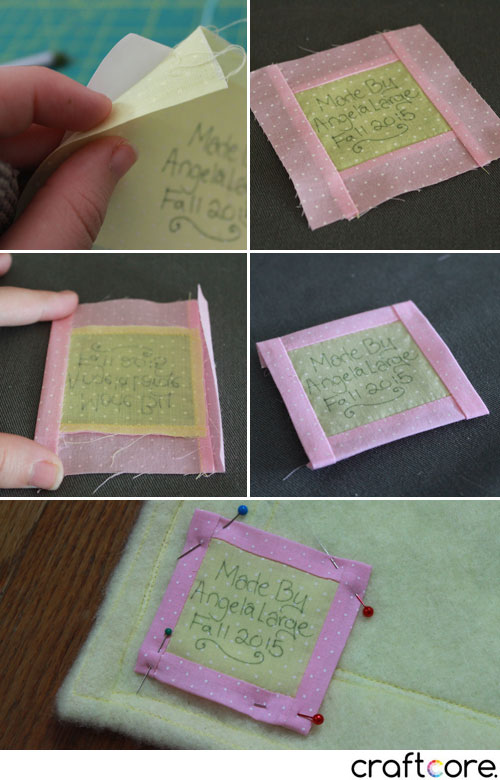
I don’t add labels to my quilts very often, but when I do, I use the method I describe in my How to Make a Quilt Label Tag tutorial. Since I was using the fold-over binding, I couldn’t use my usual tag style since there was no binding to hide the raw edge in. I made a more traditional quilt label for this one. I used freezer paper before writing my message to stabilize the fabric then peeled it before adding a quick border and hand sewing it in place with a slip stitch (oh, how terrible I am at hand sewing, but I tried my best to keep the stitches invisible):
Over the past five weeks, I’ve had so much fun putting together the fidget quilt. I normally don’t have reason to play with so many fun textile embellishments. This was a welcome change from my usual sewing.
Thanks for following my Fidget Quilt series! I’ll leave you with this darling photo of my sewing helper Diamond. Happy Caturday!