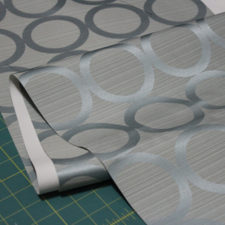
 For almost two years, I’ve had a small amount of this grey-blue drapery fabric leftover from my craft room’s curtains. The fabric is very sturdy due to a heavyweight blackout lining.
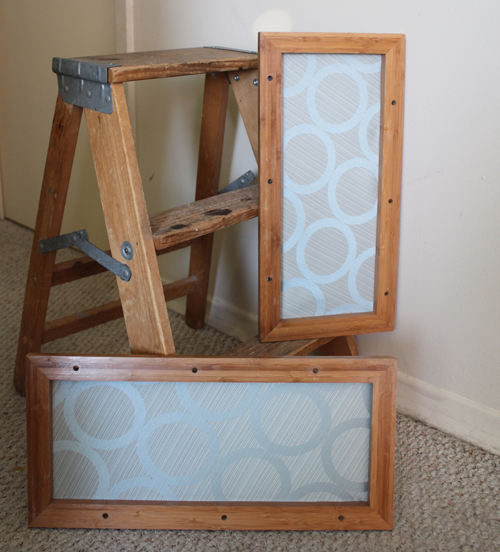
While cleaning out my soon-to-be mother-in-law’s basement, I found these two frames that were destined for the trash heap. I immediately thought of this fabric and knew I could work with them to create an artwork display for interchangeable prints.
The best part? Everything in this project came from my stash, so there was no immediate cost. Bonus!
Supplies
- wooden frames (recycled)
- fabric (leftover from old projects)
- drapery clips ($1 on clearance at Fabricland)
- small-sized prints
- thumbtacks
- ruler (optional)
- scissors
- rounded corner punch

- I started this project by attaching the fabric to the back of the frames using thumbtacks. By using thumbtacks, I can switch out the fabric easily to match my decor.
Tip: Pushing a thumbtack through hardwood can be difficult because the end of the thumbtack can indent into your thumb. I placed a ruler over the top of the thumbtack before pressing to distribute the pressure against a larger surface area. I initially tried a hammer; the thumbtack was too weak for the impact of the hammer and the flat had broke off from the nail.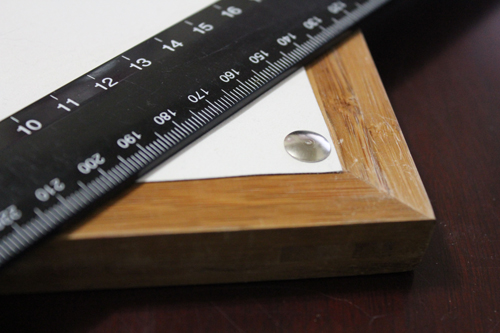
- When you flip over the frame, it looks something like this:
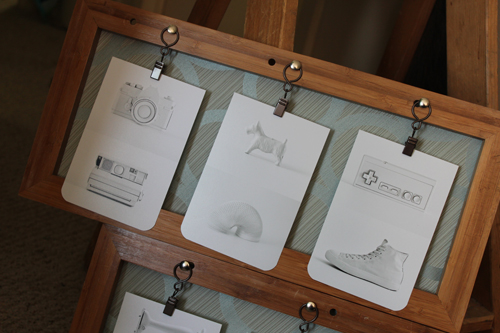
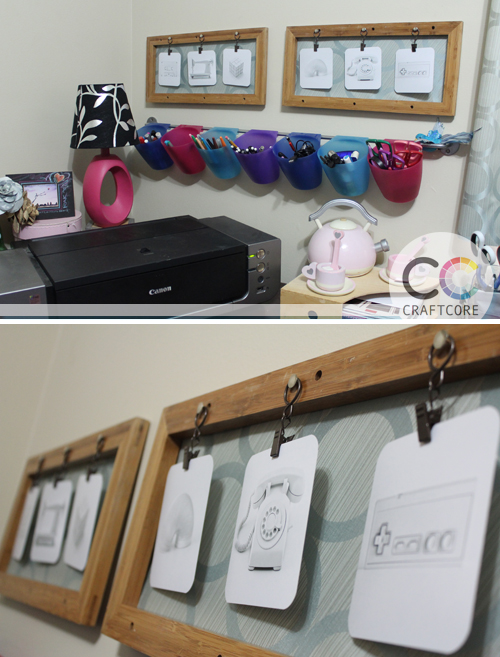
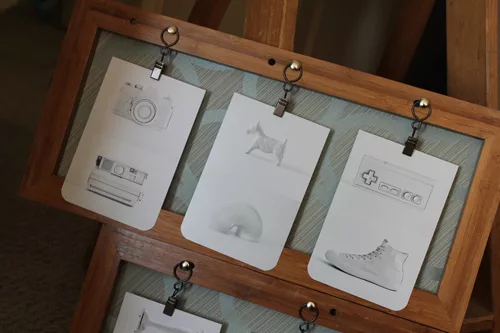
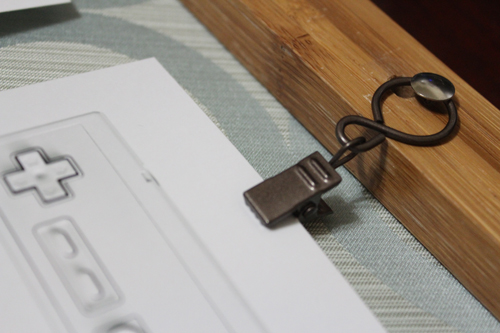
- Using the ruler technique again, I attached more thumbtacks to the frames and slipped a drapery clip between each thumbtack and the wood. I left a gap for the drapery clips to hook onto. The frames had uneven holes drilled into them, but I pretended they didn’t exist and spaced them evenly.
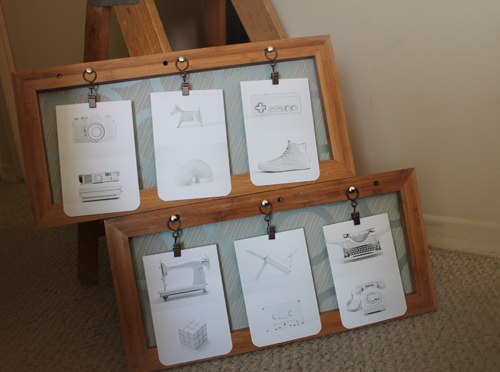
- Take your artwork and clip it to the clips. I had some simple 4×6″ prints that I compiled from the Brand Spirit tumblr (I cropped the images 4×3″ and arranged them on 4×6″ canvases in Photoshop). You can find more black and white photography on my Serene Wall Pinterest board.
 If you want to do 4 inch square prints, it’s easy to centre a 4×4″ print on a 4″x6 piece of paper and trim:
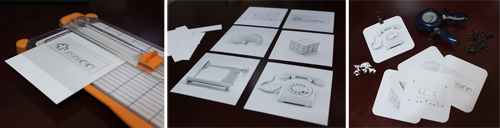
- I used a rounded corner punch to soften the edges of the prints. For my 4×6 prints, I rounded the overhanging edges. On the square prints, I rounded all four corners.
What I love about this project is the versatility. You can swap out the fabric. You can swap out the prints. At Christmas, I plan on clipping Christmas cards on an angle.