
I can’t remember when I discovered the posibilities with resin and resin jewerly. However since starting to work with resin I’ve found that the posibilities with it can be endless. I won’t be getting into specific techniques for this weeks tutorial but instead this will be a simple step by step on working with resin and how to make beautiful resin jewlery.
What you will need:
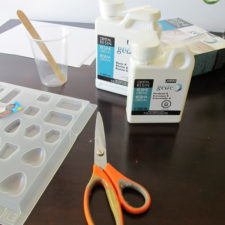
- Jewelry grade resin (I’m using Pebeo crystal resin)
- Molds (plastic or silicone)
- Plastic Measuring cups
- Seperate mixing cup and stick
- What you want to preserve (here I’ll be using beads and a picture)
- Jewelry supplies (chain/cord, clasp, and so on)
1. The first step would be to prepare everything you wish to insert into your molds. Depending on what brand of resin you use it will usually have a 20 – 30 minute gateway before setting begins. Do not insert the items into the molds however simply have everything prepared and also a little bit extra incase of excess resin.
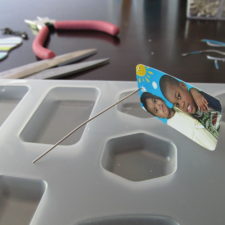 Here I’ve prepared a cut out of a co-workers picture to insert into my mold for a necklace. I’ve also inserted a headpin so I will not have to later drill a hole through the finished charm.
2. Now it is time to mix our resin. Depending again on what brand you have will depend on what measurements you’ll need to use. For Pebeo crystal resin the measurements go 1 part hardener to 2 parts resin.
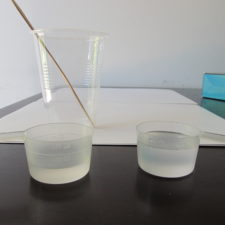
Here I’ve measured 10ml hardner to 20ml resin. This should be enough for my necklace and a couple more items.
3. Now that we have our measurements we will need mix it all together. Add both the hardner and resin into your mixing cup and stir slowly making sure that everything is mixed all together. If not mixed properly you risk the possibility of the resin not curing. Once all mixed your resin should appear clear like this.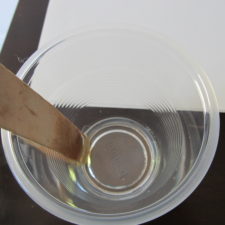
All ready to pour!
4. Now that everything is all mixed start by pouring a small amount into the molds. After you will be able to insert whatever you wish to preserve.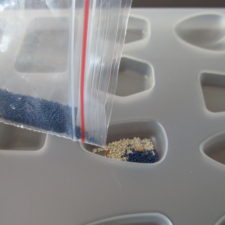
Pouring beads.
5. After the resin has been poured, let sit for 10 mins to let any air bubbles rise. When they have risen remove with a small pin.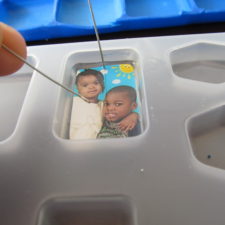
Adjusting and removing air bubbles
6. Now the waiting game starts! You’ll want to cover the molds with a lid thats breathable and not air tight. It will take about 24 hours for the resin to cure and 48 to be completely cured. 
Covered and ready to sit for 24 hours.
7. After the resin has completely cured, remove from the molds and you will be able to get to jewerly making!
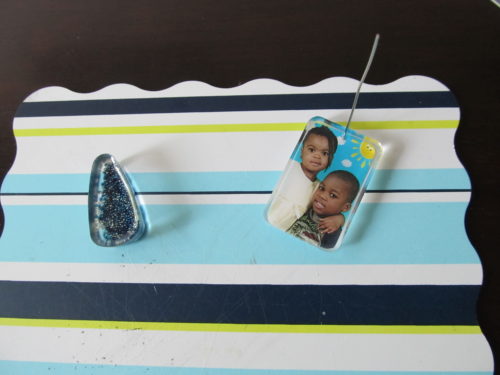
Here are the fully cured peices ready to be made into jewlery!
Resin can be great to work with as long as your using a good brand that is jewelry grade. Some brands that are not ment for jewelry tend to turn yellow over time. Posibilities are only limited to your imagination! Below is an example of a finished piece.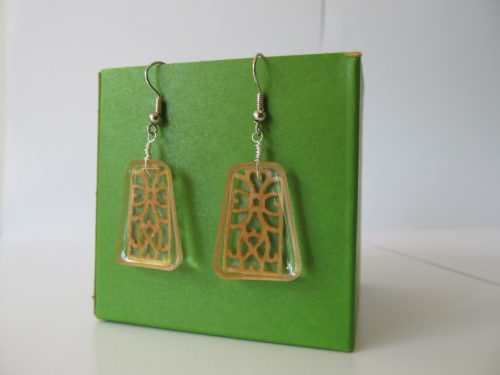
Source: https://www.etsy.com/listing/102330283/wood-ornate-cut-out-earrings