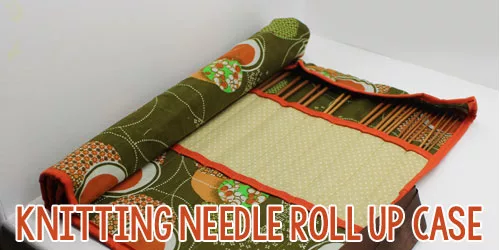
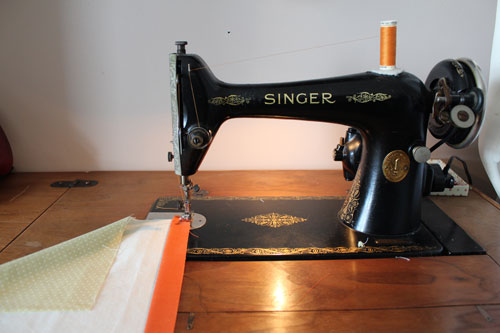
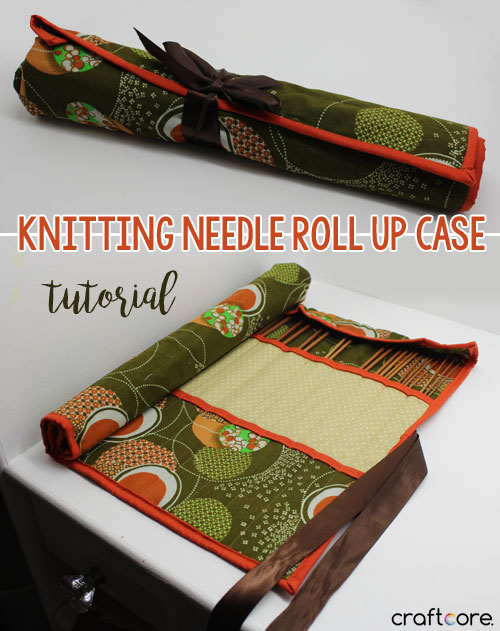
I’m getting really excited about knitting. I mentioned in my previous post about cat themed knitted dish cloths that I purchased a set of bamboo knitting needles in various sizes so that I would be good to go for a variety of knitting projects in my future knitting life. I ended up buying an inexpensive set from AliExpress with 18 different sizes. How could I store all of these knitting needles so that I wouldn’t lose them, and also in a way that I could add more knitting needles to my collection with ease? Behold: the knitting needle case!
This project is very quick to sew up and holds at least 30 pairs of knitting needles – even more than that if you want to, because you can certainly fit multiple sets of very thin needles in some of the slots. I used cotton fabrics for everything, but you could use any woven you’d like as long as it’s not too thick.
This post contains affiliate links, which means that if you click on one of the product links, I’ll receive a little commission at no extra cost to you if you make a purchase.
 Supplies
- General Sewing Supplies (sewing machine, scissors, needles, iron etc)
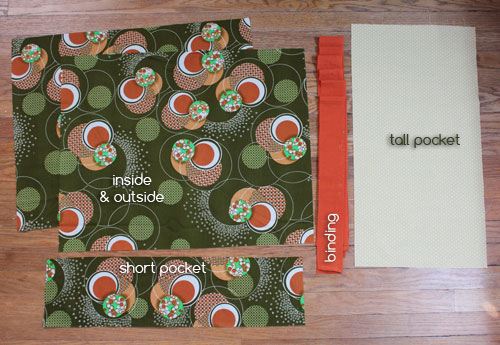
- Main Fabrics – 4 rectangles total
- 20″ x 16″ piece of cotton for the outside
- 20″ x 16″ piece of cotton for the inside – can be the same or different from the outside (mine is the same)
- 20″ x 10.5″ piece of cotton for the tall pocket – can be the same or different from the inside (mine is different)
- 20″ x 5.25″ piece of cotton for the short pocket – can be the same or different from the inside (mine is the same)
- Binding Fabrics for Trim – 3 strips total
NOTE: If you prefer a thicker binding, feel free to increase the 2″ size to 2.5″ or 3″ for all measurements in this section. I wanted a dainty binding. All instructions in the tutorial assume a 2″ binding.- Main Project Binding: 2″ x 80″ strip of fabric – you can cut two 2″ strips from the width of a standard 44″ fabric and sew right-sides together on a diagonal to make your 80″ strip.
- Pocket Trim Binding: 2 x 20″ strip of fabric – you can cut one 2″ strip from the width of a standard 44″ fabric cut it down to size. Cut 2 20″ strips.
- Notions
- 32″ of a ribbon of your choice – I used a brown satin ribbon
- Thread to coordinate with your binding fabric
- Disappearing ink fabric marker
Knitting Needle Case Roll Up Tutorial
- This project is quick to put together. Start by cutting your supplies into the sizes specified above.
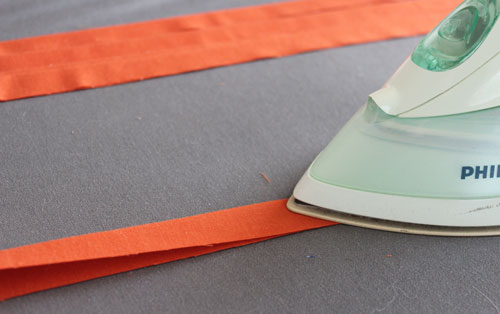
- Prepare your binding fabrics by folding it in half length wise and pressing with an iron. If you don’t have an iron, finger press it to give it a crease. You’ll end up with a long strip that is 1″ wide and 80″ long and two strips that are 1″ wide and 20″ long.
- Take your tall pocket and place it face down at your sewing machine needle. Line up the raw edge of one of your short binding strips and sew a 0.25″ seam.
Repeat for your short pocket.
- Flip your pockets over and pin or clip your binding over towards the right side for each pocket. Ensure that the folded edge of the binding fabric covers the stitch line from the previous seam, then sew in place sewing close to the edge folded edge.
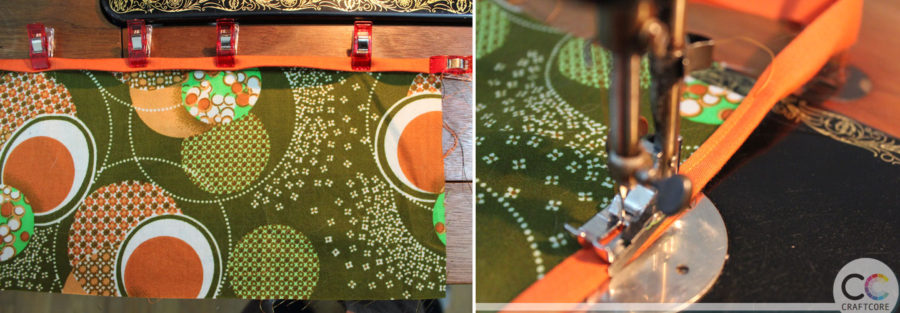 Your pockets are now ready to go.
 - Take your outside fabric rectangle and place it wrong side up on a flat surface.
Take your inside fabric rectangle and place it right side up on top of the outer fabric rectangle.
Take your tall pocket and place it right side up, aligning the piece so that raw edge is even with the 20″ bottom of the main rectangles. The bound edge should face towards the top.
Take your short pocket and place it right side up, aligning the piece so that raw edge is even with the 20″ bottom of the main rectangles. The bound edge should face towards the top.
Pin or clip all the way around the outer edge, then sew a scant 1/4″ seam all the way around the outer edge of the main rectangle.
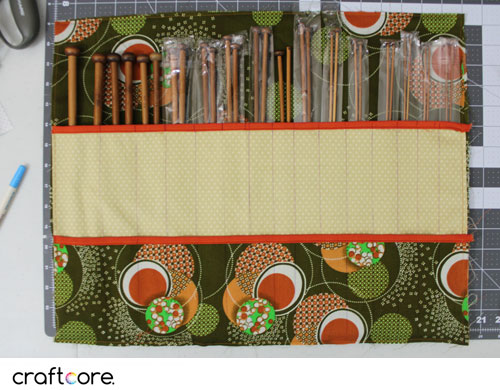
- Now it’s time to subdivide the two big pockets into many little pockets. I took an assortment of needles and laid them on my case to gauge how big I wanted to make the partitions. The largest needles on the left required more room. Draw vertical lines to mark your partitions as desired from the top of the tall pocket down to the bottom. Use these guidelines to sew stitches, being sure to back stitch at the beginning and end of each line for strength.
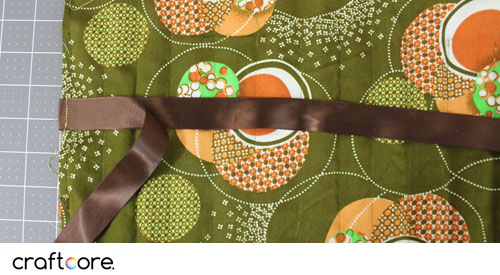
 Fold your 32″ ribbon in half. Since my ribbon had a right side and a wrong side, I folded it so that the right sides were facing each other. With your case with the outside facing up, sew the ribbon to the one of the 16″ side edges in the middle as pictured below. Keep the stitch line within the 1/4″ seam you originally stitched.
- Keeping the outside facing up, sew the remaining strip of binding around the outside edge, mitering the corners as you go. If you need assistance with attaching the binding with mitered corners, check out the “Attach the Binding to the Quilt” section of my quilting start-to-finish tutorial.
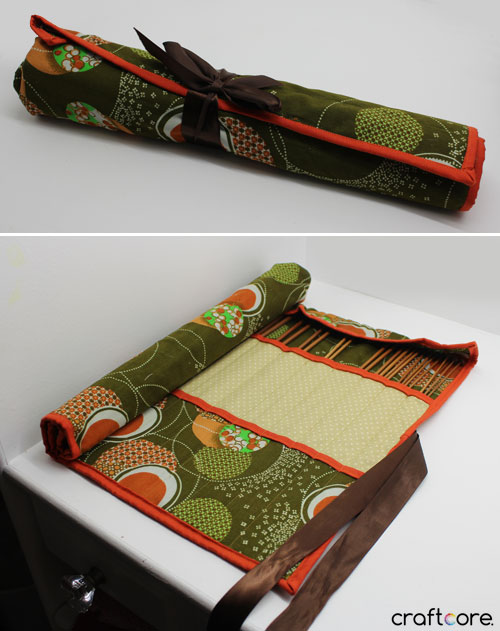
That’s all there is to it! The second pocket doubles the storage space and makes it easy to add both short and tall needles to the case in a way that makes sense. If you like, you could add labels with a fabric marker indicating sizes, but I don’t think it’s necessary if you simply put the knitting needles into the case sorted from largest to smallest. When rolling up the case for traveling, you can fold down the extra height at the top of the case to ensure that none of the needles slip out of place.
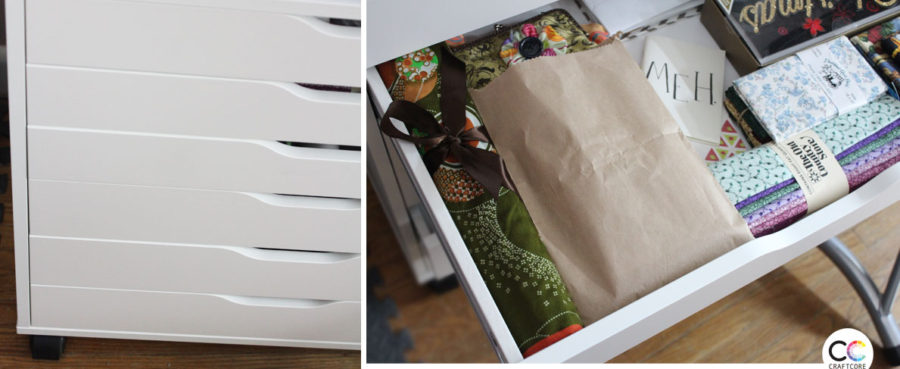
My knitting needles are no longer floating around in a drawer. This knitting needle case fits perfectly in the shallow drawer of an IKEA Alex drawer unit. Contain the clutter!
1 thought on “Sewn Knitting Needle Roll Up Case Tutorial”