
Part 2: How to Make the Tall & Skinny Tote Bag
You’ll need the following items make this bag.
- Lining Fabric: 13″ by 33″
- Outer Pieces Fabric:
- Base (cut 1): 13″ x 13.5″
- Sides (cut 4): 3.25″ x 7.5″
- Top (cut 2): 13″ x 3.25″
- Pocket Fabric (cut 2): 5″ x 5″
- Strap Fabric: 42″ x 6″
- Interfacing (for non quilted) or Batting (for quilted): at least 13″ x 33″
- Assembled Pinwheels (x 2) from Part 1
- Two Buttons
- Thread, Hand Sewing Needle, Sewing Machine, Scissors, etc.
All seam allowances in this tutorial are 1/4″ each.
- Sew the two sides to the two pinwheels:
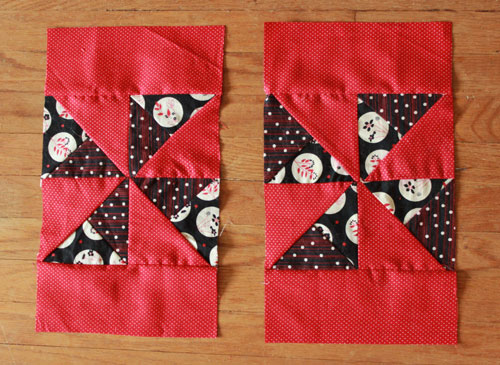
- Sew the two top pieces to the pinwheels:
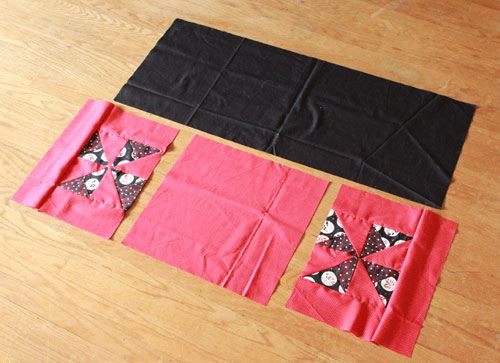
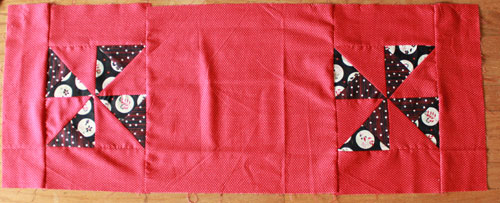
- Sew the base between the two pinwheel pieces forming the front face of the bag:
- If you’d like the pinwheels to have quilted details, pin the front face of the bag to a piece of batting:
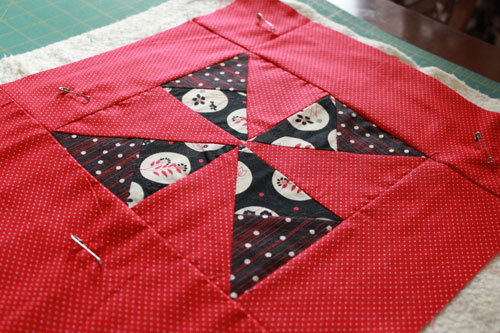
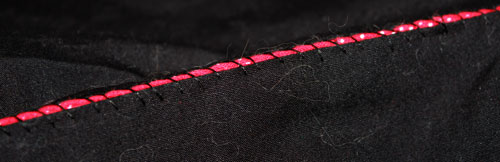
Quilt as desired. I quilted mine just on the half square triangles, stitching 1/4″ inch from the seams, pivoting on each corner. You can be as detailed or simple as you’d like with your quilting.
 If you don’t want to quilt your bag, you can iron a piece of fusible interfacing onto the back of your fabric to add stability. If your lining fabric is made out of something sturdy like twill, this may not be necessary. If you want a floppy bag, you don’t have to add anything at all.
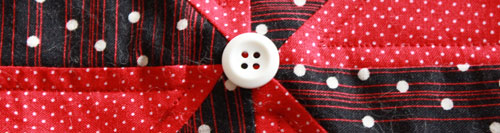
 - Optional: Do you want to hide your corners? If yes, Hand sew a button where your points meet.
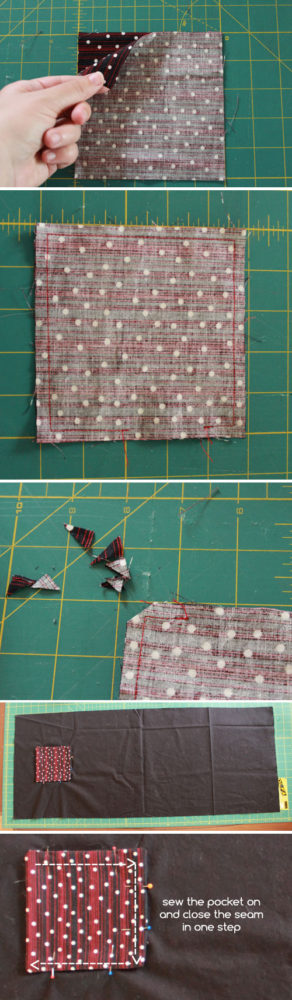
- Optional: Do you want a lined inner pocket? If yes, layer two squares right sides together (5″x5″ will make a darling pocket, but feel free to adjust the size for your purposes). Sew around the perimeter, leaving a small area to turn it right side out. To reduce bulk, trim the corners without getting too close to the threads. Flip inside out, then pin to your lining fabric. Sew into place as indicated along three of the sides of the pocket, making sure that the hole of the pocket is facing towards the skinny end of the lining. Make sure that the hole you turned the pocket out from is sewn shut at the same time as you sew it into place.
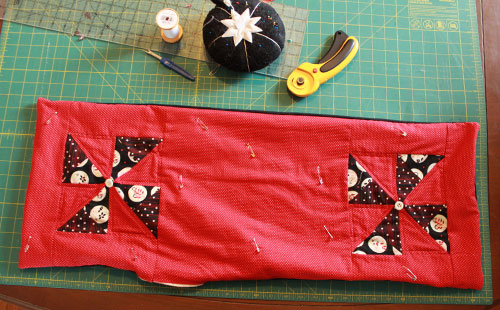
- Place your lining fabric face up. Layer your outer fabric face down. Sew a line around the perimeter of the entire rectangle, leaving approximately 5″ unsewn to allow for turning your fabric.
- Trim any excess batting if necessary.
- Flip your bag right side out, taking care to make sure your points are entirely turned out.
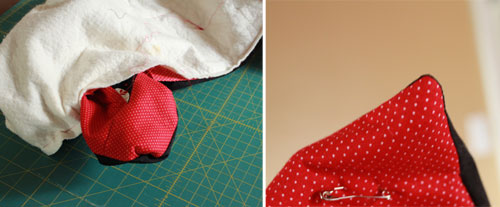
You’ll end up with something like this. Hand or machine sew the opening closed, making sure your fabric is lined up nicely with all raw edges captured inside the seam..
- This step is going to turn our flat bag into a bag with some shape. Fold your bag so that the outside of the bag is facing inwards. You will want to sew along the two sides. If you used batting, this may be too thick to sew by machine since there are a lot of layers. I hand stitched my bag using heavy duty thread.

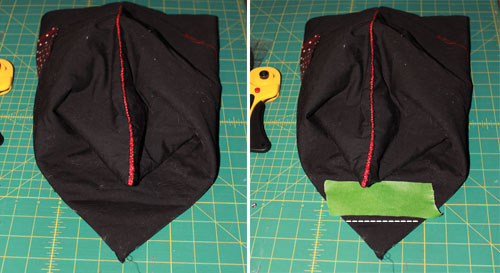
- If you want your bag to have a flat bottom, while your bag is inside out, you can point your corners and sew a line approximately 2″. It’s difficult to explain, so please reference the photos below. You would do this on both sides.
- There’s just one thing left to do to make this tote totally tote-able. Add straps! I personally dislike making tubes of fabric for straps and flipping them inside out. I use a bit of alazier method but I like the results because it has some nice weight to it without using interfacing or batting. I like a long strap, so I’ve done the full width of my fabric, 42″ x 6″. Feel free to adjust the length to one that suits you.
- Fold the 6″ fabric in half lengthwise and iron. Open it up.
- Using the pressed line as a guide, fold one of the edges inwards towards the pressed line. Iron.
- Repeat for the other side. You should now have two folded edges.
- Fold again so that you now have one single fold on on edge and two folded edges layered on top of each other on the other.
- Trim off the selvages, then turn the edges inward so that no raw edges are showing anywhere. Top stitch 1/4″ along all four sides.

- Flip your bag inside out then sew these straps to the interior of your bag. I like to sew a square then an X within that square to attach the straps.
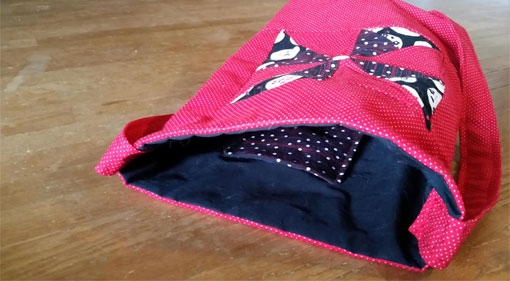
And there you have it! Your now have a Tall & Skinny tote bag, ready for travelling and pretty as a pinwheel.

1 thought on “How to Make a Tall & Skinny Pinwheel Tote Bag”