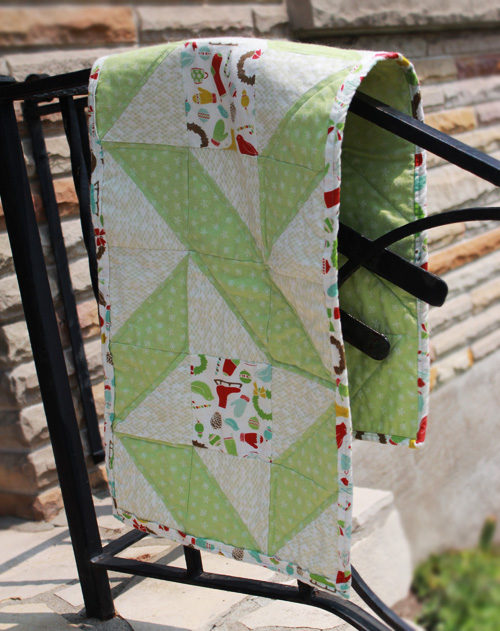
It’s almost Christmas in July! Today I’m sharing this quick table runner I made last Christmas. You’ll have plenty of time to whip one up as a gift before the season hits.
This project was inspired by this sweet mitten, ice skate, and Christmas wreathe print. I love Christmas, but I’m not very into the traditional red and green colour combination. I love this print because the green is toned down to a pale hue. I also found this adorable white-on-green snowflake print online that matched perfectly.
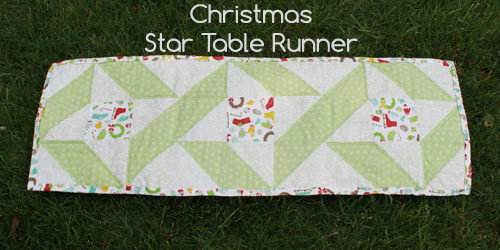
The finished measurement is 12.5″ x 36.5″. You can make this longer by creating additional blocks; adjust the materials accordingly.
Supplies
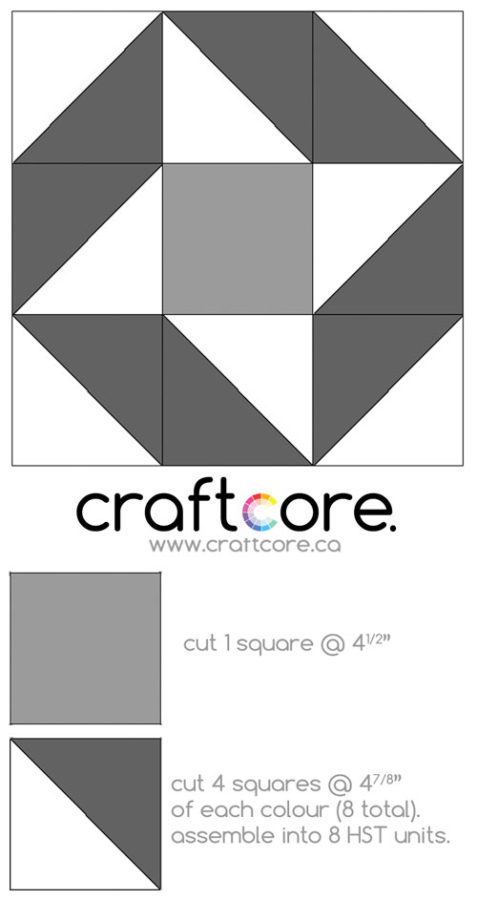
- Focal fabric: 4 1/2″ squares – cut three
- Foreground of star fabric: 4 7/8″ squares – cut twelve
- Background of star fabric: 4 7/8″ squares – cut twelve
- Backing fabric: at least 12.5″ x 36.5″
- Batting: at least 12.5″ x 36.5″
- Binding fabric: 2.5″ by 42″ strips – cut three. you will have a little excess.
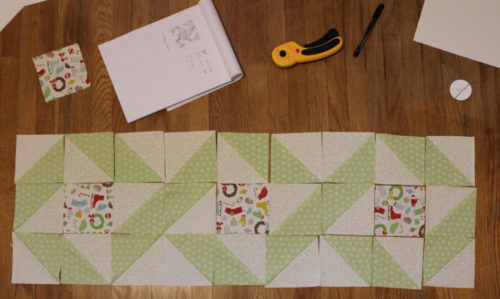
This table runner is created by assembling three of the following blocks:
Step 1:
First, take your foreground and background fabric squares. You’ll need to assemble these into HST units as per the above guide, either by cutting them diagonally and sewing them back together right sides together with a 1/4″ seam allowance, or using the technique I discussed on my HST guide. Each of the blocks consists of 8 HST units and one focal fabric square.
Step 2:
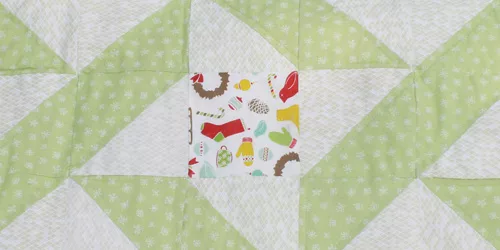
Lay out your units and focal squares in order to ensure that you placed the correct design.
 Step 3:
Using a 1/4″ seam allowance, assemble the first 3×3 block.
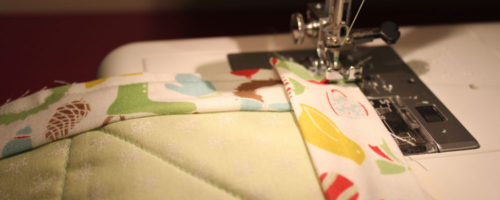
- Start by sewing three units together, repeating for each of the three rows.
- Iron the seams to one side.
- Sew the rows together to form the 3×3 block.
- Iron seams to one side.

Step 4:
Repeat assembly for the remaining two blocks.
Step 5:
Layer your backing fabric (face down), batting, and quilt top (face up). Pin in place using safety pins then quilt as desired (stitch in the ditch, free motion, etc).

Step 6:
Square up and trim your table runner, then sew on the binding.
Step 7:
Enjoy your table runner!