I recently shared my craft room reveal, but I didn’t go into much detail regarding my fabric storage solution.
This post contains affiliate links, which means that if you click on one of the product links, I’ll receive a little commission at no extra cost to you if you make a purchase.
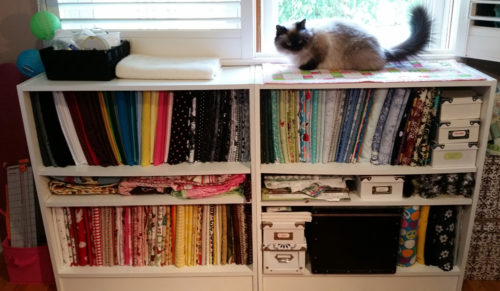
I’m currently using a pair of inexpensive particle board bookcases I purchased online. My original plan was to simply fold my fabrics and stack them in the shelves, but I knew this would get messy in the long term as I pulled out fabrics to use. I wanted a way to showcase my fabrics in such a way that it was not only easy to see my entire collection, but to be able to know how much was left without having to unfold it and measure on the spot. The old plastic tubs stacked in the closet were not cutting it.
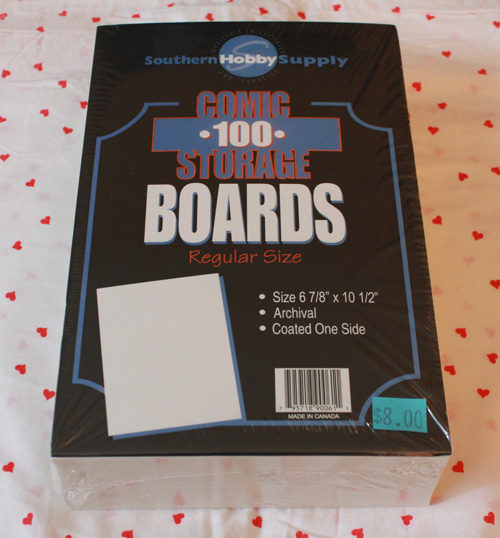
Inspired by fabric stores who wrap their fabrics around sturdy cardboard bolts, I came up with the interim solution to start saving cardboard headed to the recycling bin and cutting it down to a manageable size. This got annoying fast since it’s not easy to cut thick cardboard. After pricing out options for poster board, foam core, etc, these comic book boards won the price war at $0.08 per sheet. They are also thinner than foam core so it doesn’t waste as much space on the shelf. I purchased two packs of 6 7/8″ x 10 1/2″ comic book boards to start and ended up buying a third to hold my quilting fabric collection)
If you don’t have a local comic shop nearby, you can buy comic boards from Amazon as well (disclosure: affiliate link, so if you buy, I will get a small commission at no additional cost to you).
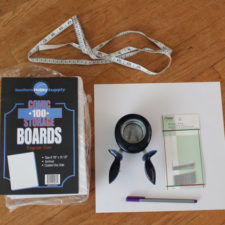 To create the bolts, all you need is a:
- package of comic book boards or similarly sized cardboard
- dollar store bobby pins
- a paper punch in a shape you desire (I used 2″ circles)
- white card stock
- a pen
You’ll also want a ruler or measuring tape to size each of your fabrics.
I started my process by punching out enough circle labels for each of my fabrics.
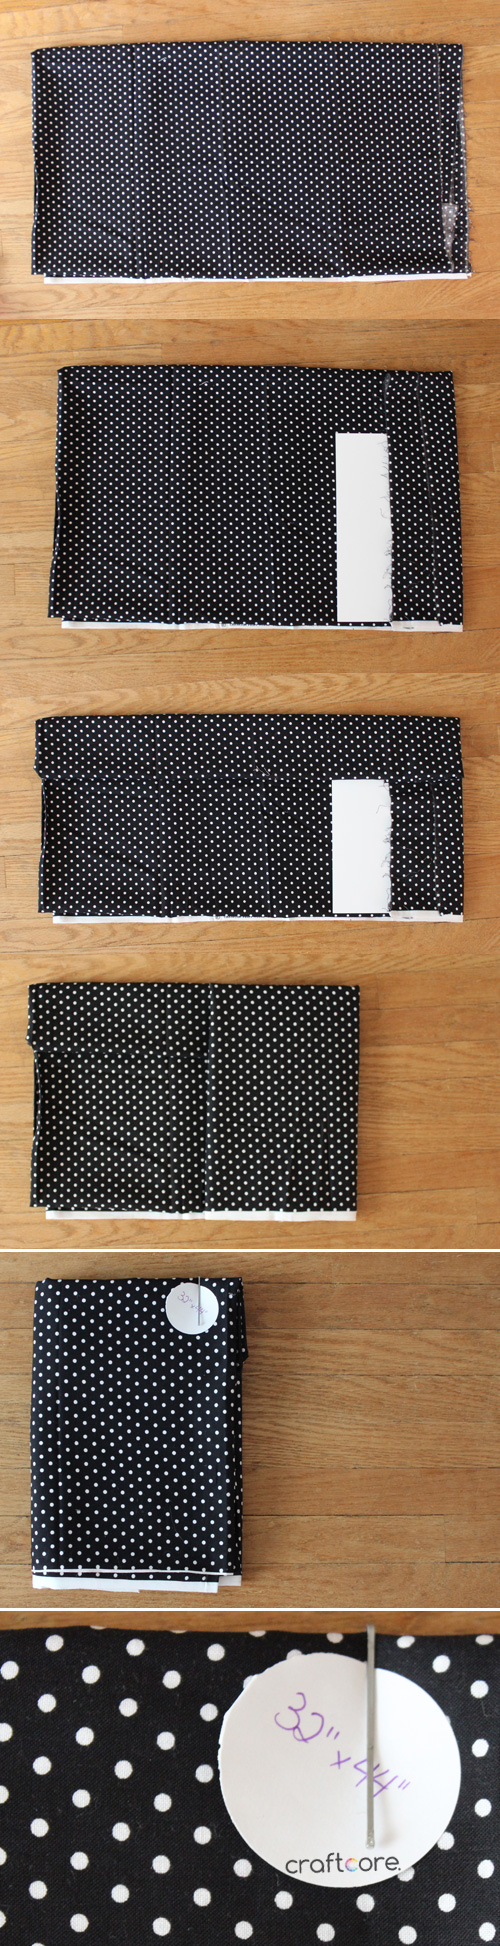
Next, I measured the length and width of one fabric and marked the dimensions onto one of the labels. I then proceeded to fold the fabric around the board. Essentially, you are just folding the fabric to using the board as a stabilizer and a size reference.
- I usually start with the selvages together (if the fabric still is a full cut), then fold lengthwise once more.
- I place the board near an edge of the fabric, leaving a little overhanging. I fold the overhanging on top of the board.
- Any part of the fabric that is too tall for the board, I fold down to bring the height of the fabric down to 10.5″, matching the height of the board.
- I then start rolling the fabric board down the remaining length of the fabric.
- I use a bobby pin to secure the fabric in place, usually just going through two layers of fabric. You won’t be able to go through too many layers without putting too much stress on the bobby pin.
- Once secure, I slide the label under the bobby pin.
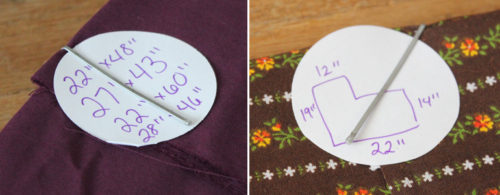
Sometimes I wrap multiple cuts of the same fabric on the same bolt and list the size of each cut on the label. If there’s a chunk cut out of the fabric, I might draw a little diagram so I won’t be surprised when I return to the fabric later. When I use the fabric, I’ll either make a new label or just cross off the original size and put the new dimensions on the other side.
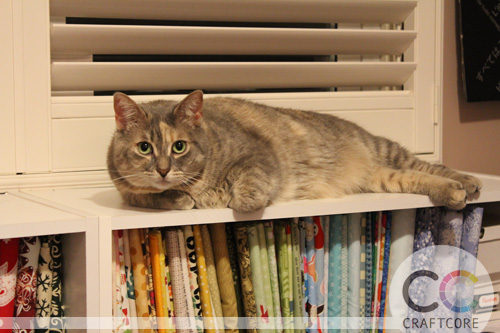
Since putting my fabric storage on display instead of hiding in the depths of the closet, I’ve been utilizing my fabric stash a lot more than I did before when it was easy to forget I had the perfect coordinating print.
Do you have your fabric stash out on display? I’d love to see your craft room in the comments!